
Last updated November 15, 2026
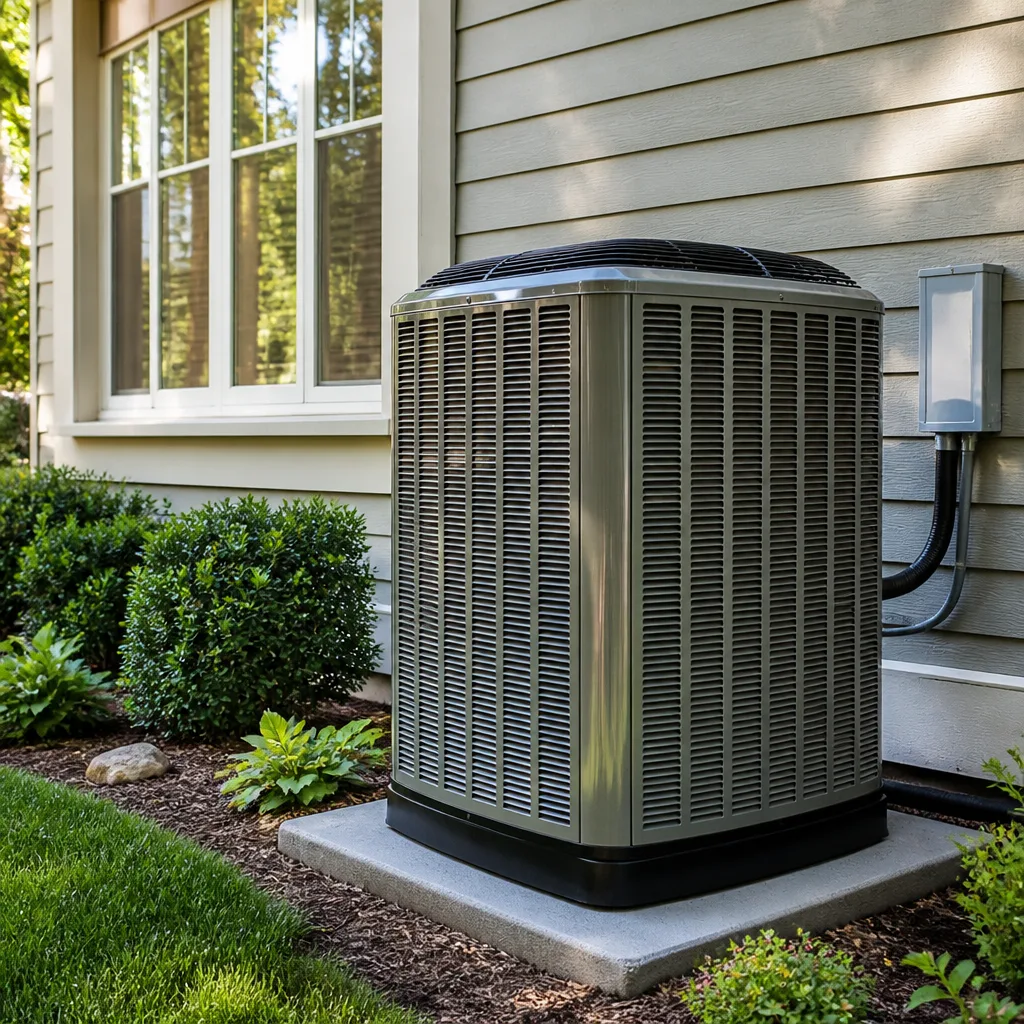 AC repair
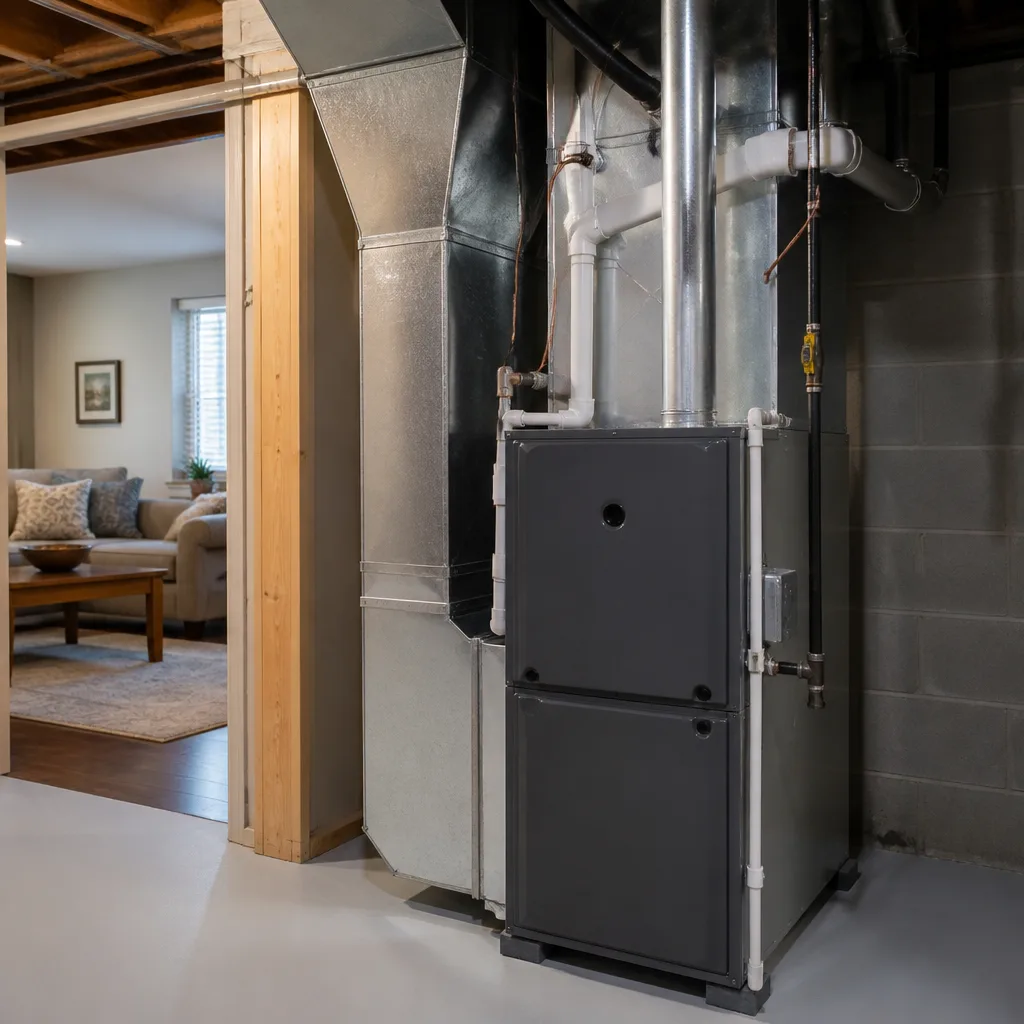 Furnace & heating
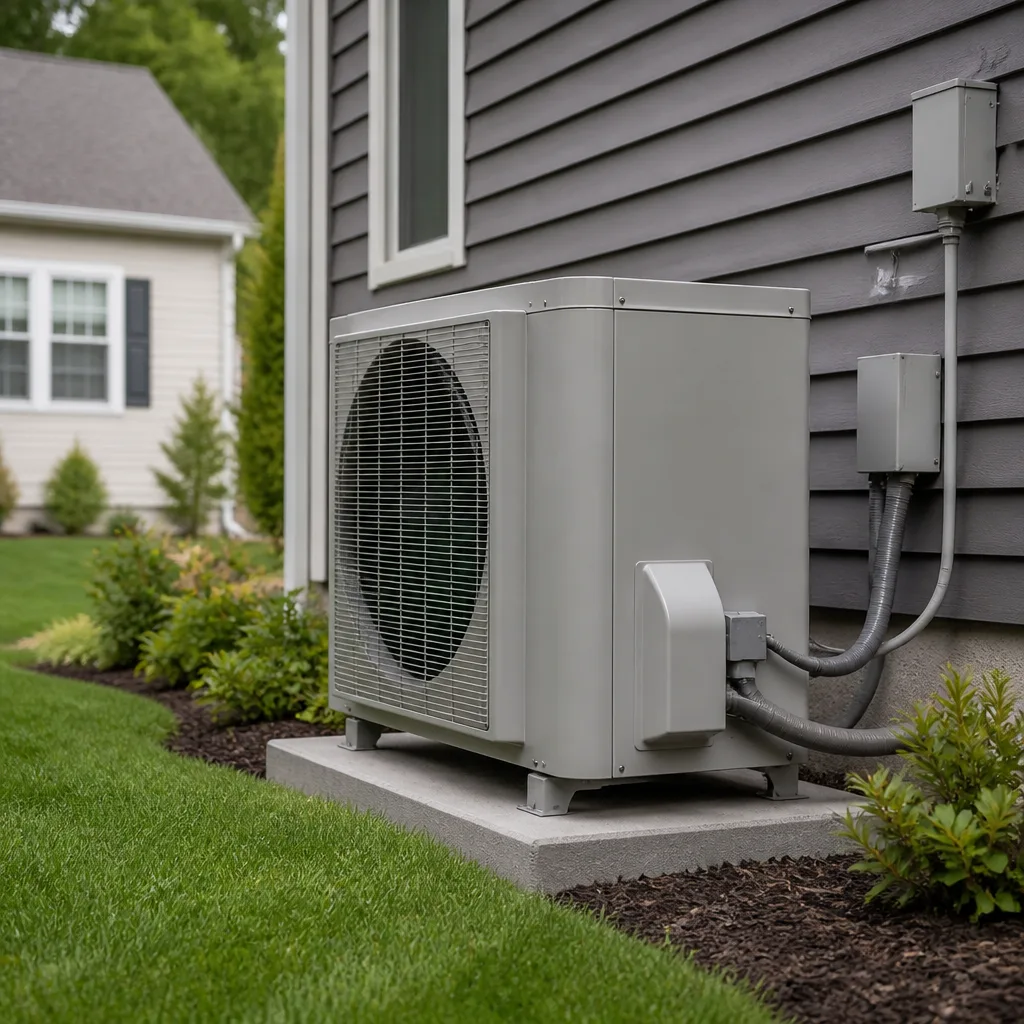 Heat pumps
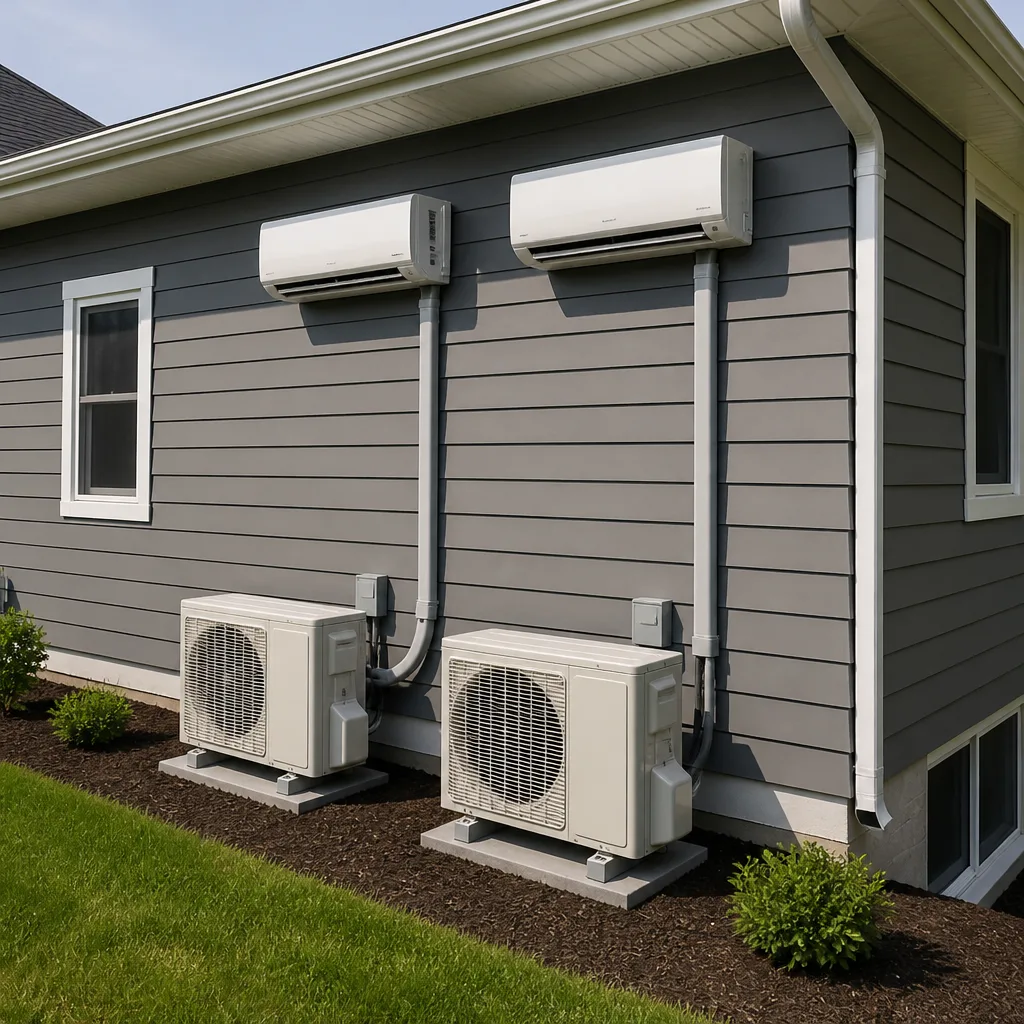 Ductless mini splits
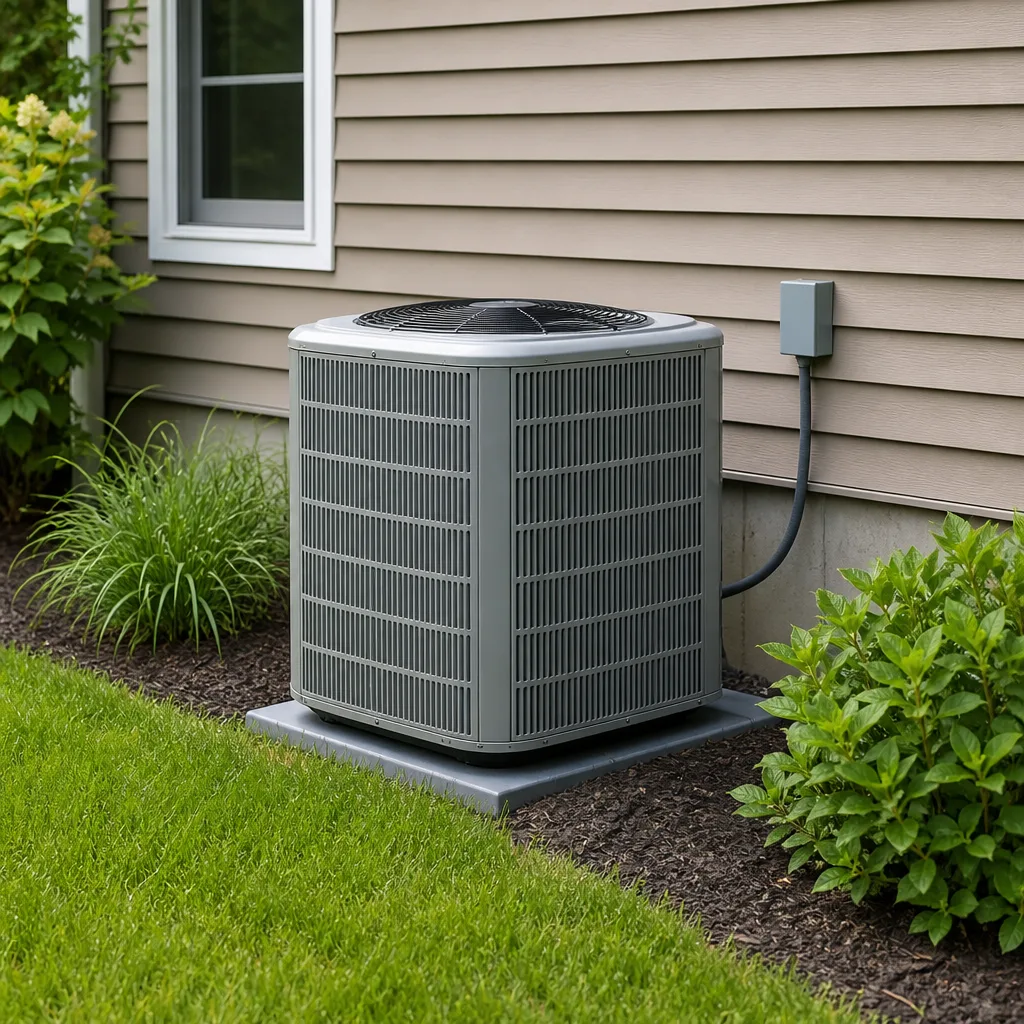 Carrier
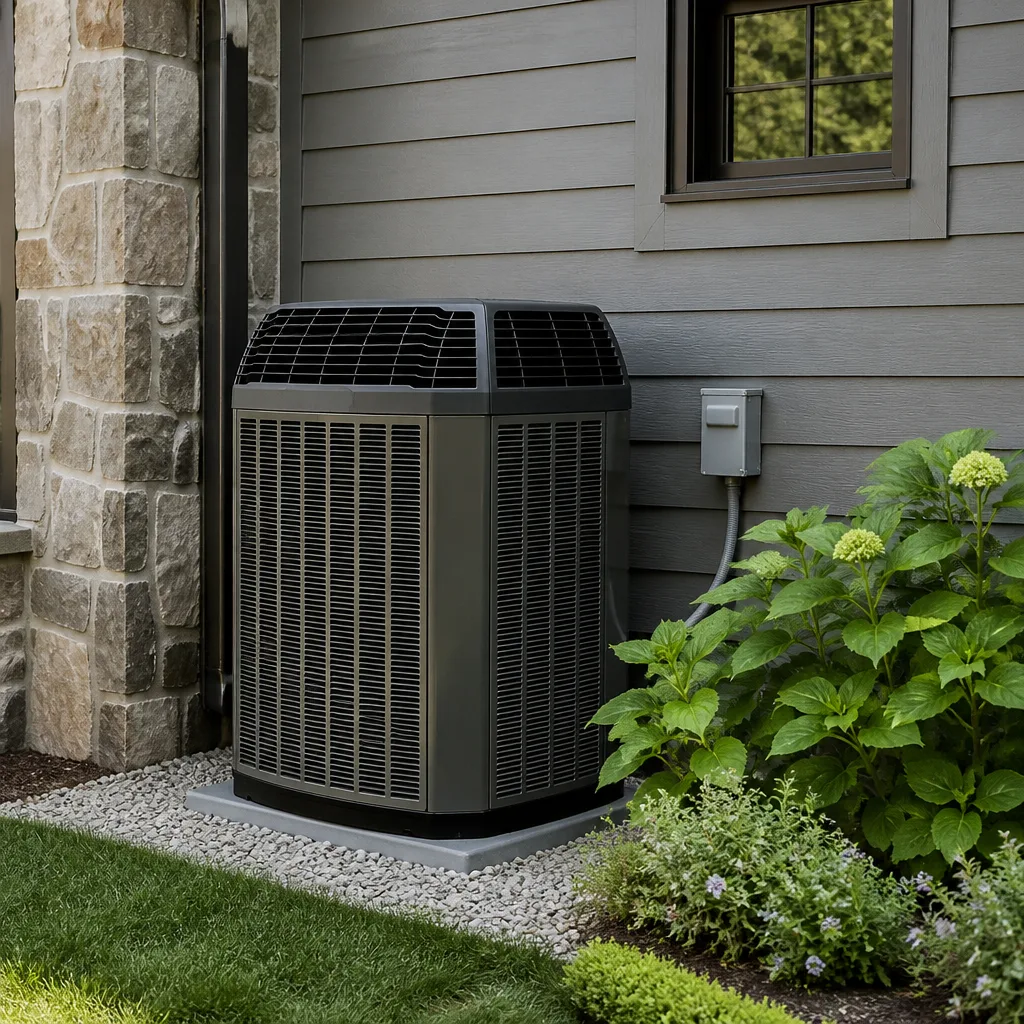 Trane
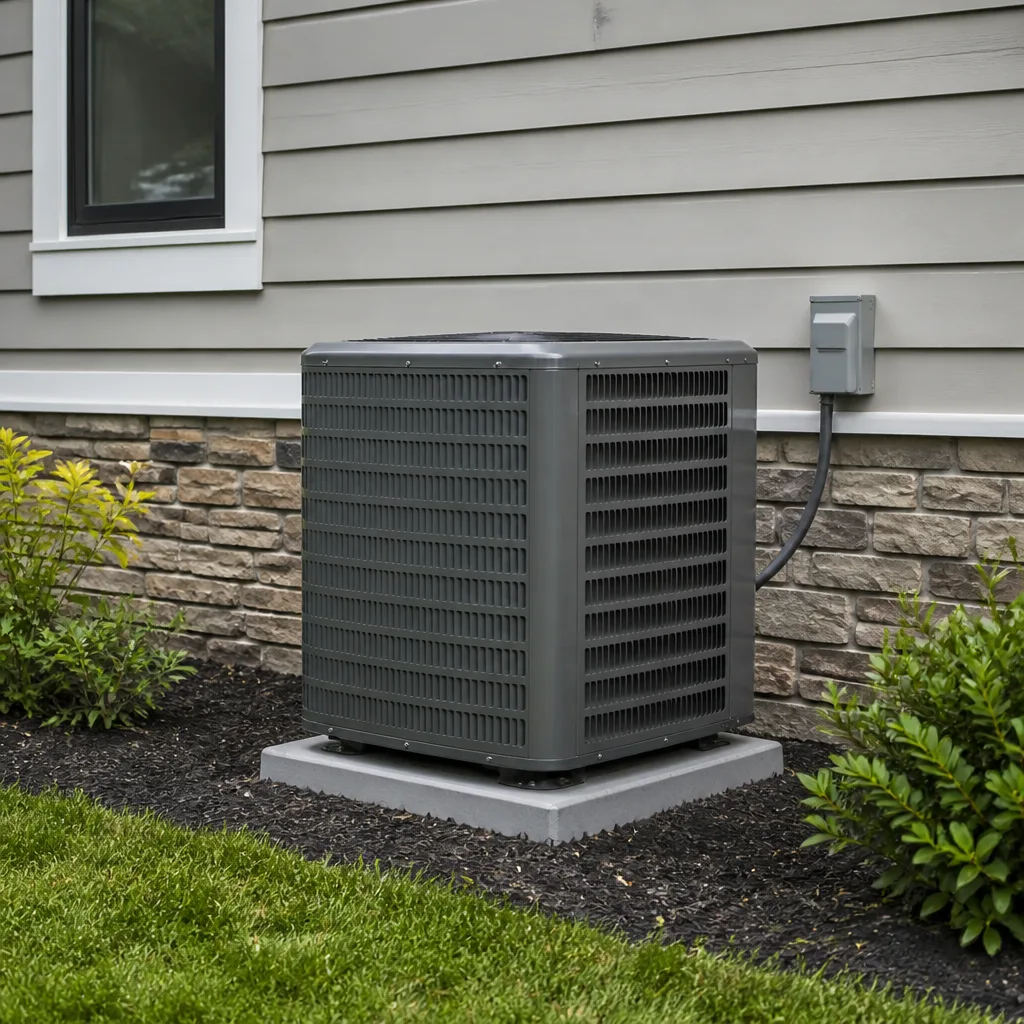 Goodman
Seasonal tune-up and full diagnostic on your Carrier, Trane, or Goodman system - readings shown to you before any repair is proposed
Diagnosis first, numbers second - you approve the repair price before a single part goes in.
Get your free estimateAC Repair Maintenance Checklist for Lewisville Homeowners
The call that fills up July in Lewisville usually isn’t a dead compressor or a refrigerant leak. It’s a condensate drain line clogged with algae, water backing up into the pan or the ceiling, and a system that shuts down on a safety switch. That’s a repair visit a few dollars of prevention in spring would have avoided. Lewisville’s humid summers and long cooling season punish the parts most homeowners never look at, and they reward a little attention paid at the right time of year. This guide walks month by month through the tasks that actually matter here, tells you which ones you can do yourself, and flags the ones that need a trained technician on the system.
Quick Answer
A workable AC maintenance checklist in Lewisville covers three things: clear the condensate drain line before the humid months, keep the filter clean so the evaporator coil doesn’t cake up, and have a technician check electrical components like the capacitor and contactor before the heavy-load summer. A homeowner can handle the filter, the drain flush, and visual checks. Capacitors, refrigerant, and anything inside the electrical panel belong to a licensed technician.
Styles & brands we work with
- AC repair
- Furnace & heating
- Heat pumps
- Ductless mini splits
- Carrier
- Trane
- Goodman
Table of Contents
- Why a Lewisville AC Checklist Looks Different
- The Month-by-Month Maintenance Calendar
- The Condensate Drain Line: The First Thing to Check
- Filter Selection in Fast-Growing Lewisville Corridors
- Capacitor Wear on a System That Runs 2,000 Hours a Summer
- Evaporator Coils and Construction Dust
- What You Can Do Yourself and What Needs a Technician
- Common Mistakes to Avoid
Why a Lewisville AC Checklist Looks Different
Most maintenance checklists floating around online were written for a generic four-season climate, where a system works hard for three months and idles the rest of the year. Lewisville doesn’t run that way. Summer here is long and humid, and the equipment runs from spring deep into fall. A system that logs 2,000 hours of runtime in a season wears differently than one in a milder climate. Specific parts take the load, and specific failures repeat.
Three patterns show up over and over in this area:
- Clogged condensate drains. High humidity means the coil pulls a lot of water out of the air, and standing water in a warm drain pan is a nursery for algae. A slow-growing clog becomes a shutdown in the middle of the hottest stretch.
- Dirty evaporator coils. Lewisville has grown fast, and active construction nearby throws fine dust into the return air. That dust settles on the coil, insulates it, and forces the system to work harder for less cooling.
- Capacitor fatigue. Long runtime under high load stresses the start and run capacitors. When one fails, the compressor or fan won’t start, and it looks like a much bigger problem than it is.
None of that means a homeowner is helpless. It means the checklist has to be timed to this climate, not copied from a national blog. April and May are prep months. June through September is survival mode. October is when you close it out. That rhythm is the backbone of the rest of this guide, and it’s the same rhythm our technicians work to when they service Lewisville homes.
The Month-by-Month Maintenance Calendar
A single “spring tune-up” isn’t enough for a place where the cooling season runs half the year. Break the work into months and each task lands when it actually matters. Below is the cadence we recommend for Lewisville homeowners, built around the local weather pattern rather than a generic spring-and-fall model. The idea is to spread the effort out, so no single weekend carries the whole load.
- March. Change the filter and walk the outdoor unit. Clear leaves and debris from around the condenser so air can move. Check the drain pan for standing water.
- April. Flush the condensate drain line (the full procedure is below). This is the single most valuable task of the year, and it needs to happen before the humidity arrives, not after the pan overflows.
- May. Schedule a professional inspection before the first sustained heat. This is the window when a technician can find a tired capacitor or a weak contactor and replace it on your terms instead of during an emergency.
- June through August. Check the filter every month. Inspect the drain pan visually. Keep two feet clear around the outdoor unit and avoid stacking things against it.
- September. Verify the drain again after the peak-condensation months. Watch for any change in how long the system runs to reach setpoint.
- October. Final filter change of the cooling season and a visual check before the system settles into lighter use. This is also a sensible time to have heating checked if you rely on a furnace.
- November through February. Lighter load. Change the filter monthly if you run the fan continuously. Keep an ear out for unusual sounds from the outdoor unit.
The point of spreading it out is that each task costs minutes, not hours. A homeowner who does the March-to-May work consistently avoids most of the avoidable breakdowns. That’s the whole game.
The Condensate Drain Line: The First Thing to Check
If you do one maintenance task this year, make it the condensate drain. When the coil cools air, it squeezes moisture out, and that water has to leave the system through a drain line. In Lewisville’s humid months the line carries a steady trickle, and a warm, wet pipe with slow flow is exactly where algae grows. A partial clog restricts flow; a full clog backs water into the pan, and the safety switch or the pan itself stops the system. In a closet or attic install, that water can go somewhere expensive.
Here’s how to inspect and flush it yourself. This is a safe homeowner task, no electrical work involved.
- Find the drain. Follow the PVC pipe from the indoor unit or air handler. There’s usually a primary drain and sometimes a secondary one, plus a float switch.
- Look for water. Check the pan under the unit and the area around the drain. Standing water is a warning sign whether or not the system has shut off yet.
- Locate the cleanout. Many drains have a capped tee or a small opening where you can access the line. If yours does, remove the cap.
- Flush with water. Pour a cup or two of water down the line slowly and watch whether it drains freely. If it backs up, you’ve confirmed a clog.
- Clear a soft clog. A little suction from a wet/dry vacuum at the outdoor end of the drain often pulls out the algae. Never use a wire or a high-pressure tool that could crack the PVC.
- Treat to slow regrowth. A drain treatment tab placed in the pan or the cleanout helps keep algae from coming back. Keep it simple and follow the product instructions.
If water won’t drain at all, or you can’t find the cleanout, that’s a professional call. The drain is easy to work on when it’s clear and easy to damage when it’s not. For a system that keeps clogging, we look at whether the line is properly sloped and whether the trap is right during a routine AC repair visit.
Filter Selection in Fast-Growing Lewisville Corridors
Filter choice matters more here than most places, because the air around new construction carries more fine dust than settled neighborhoods. Lewisville is growing quickly, and homes near active building sites pull that dust straight into the return. A filter that’s too thin lets the dust through to the evaporator coil; a filter that’s too dense chokes airflow and makes the system work harder. Getting the balance right is the trick.
A few practical rules:
- Match the rating to the situation, not the marketing. A basic pleated filter with a moderate MERV rating protects the coil without strangling airflow. A high-MERV hospital-grade filter in an older system usually does more harm than good.
- Check it more often near construction. Homes close to building activity should be checked every couple of weeks during peak construction, not every month or quarter.
- Hold the filter up to the light. If you can’t see light through it after a few weeks, it’s loading fast and needs attention.
- Never leave the filter out. Running without one lets dust straight onto the coil, which is far more expensive to clean than a filter is to replace.
- Respect the size. Use the exact filter size and orientation the cabinet specifies. A loose filter bounces and leaks air past the edges.
If a filter is loading up fast even away from construction, something else may be going on: return leaks, a duct issue, or an airflow problem. Worth asking about during an inspection.
Capacitor Wear on a System That Runs 2,000 Hours a Summer
A capacitor stores and releases the electrical burst that starts the compressor and the outdoor fan motor, and it keeps the motor running smoothly once it’s going. It’s a small, inexpensive part, and it’s also the first thing a technician checks when a system won’t start on a hot day. In a Lewisville summer, the equipment can run thousands of hours, cycling on and off in sustained heat. That cycling is what wears capacitors out. Heat and repeated start-ups take a toll, and a weak capacitor is often behind a system that “hums but doesn’t go.”
What capacitor wear looks like, in plain terms:
- The outdoor unit hums or buzzes but the fan doesn’t spin.
- The compressor tries to start and trips back off shortly after.
- The system runs fine in mild weather but struggles on the hottest afternoons when load is highest.
- You hear a clicking from the outdoor unit as the motor tries and fails to start.
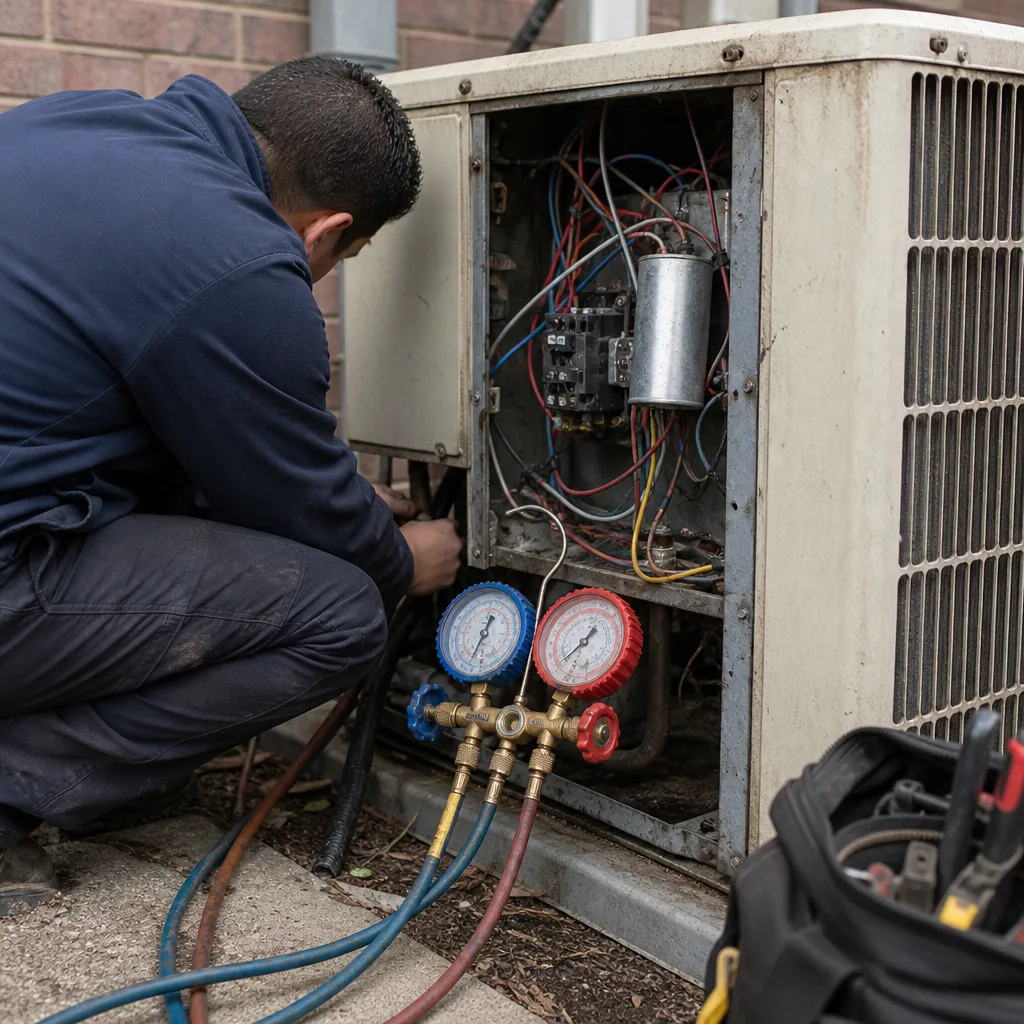
What you should not do is open the electrical panel and test or replace the capacitor yourself. A charged capacitor can deliver a painful shock even after power is cut, and the panel holds line voltage. This is squarely a licensed-technician job. What a homeowner can do is recognize the symptoms and get ahead of them. If a system is older and has run hard through several summers, having the capacitor tested during a pre-summer inspection is smart. It’s the cheapest part to replace before it fails and the most common cause of a “dead” unit on a 105-degree afternoon. During a routine AC repair call, checking capacitor health is part of the diagnosis, and knowing the brand matters. We’re factory-familiar with Carrier, Bryant, Daikin, and American Standard, among others, so we’re not guessing at which component is where.
Evaporator Coils and Construction Dust
The evaporator coil is where the cooling actually happens: warm air passes over cold fins, heat transfers out, and moisture condenses. When those fins get coated in dust, a layer of insulation settles between the air and the refrigerant. The system has to run longer to reach the same temperature, which drives up runtime and wear on every other part. In a city growing as fast as Lewisville, fine construction dust is a real contributor, especially for homes near active building corridors.
What to watch for:
- Longer run times. A system that used to cool the house in ten minutes now takes twenty.
- Weak airflow from the vents even with a clean filter.
- Higher energy use without a change in habits or weather.
- Visible dust or debris on the indoor unit’s coil if you can safely see it.
Cleaning an evaporator coil properly takes the right cleaner, a way to rinse without soaking the cabinet, and careful handling of the fins. It’s not a homeowner job, and the fins are fragile. What a homeowner can do is reduce the loading in the first place: change filters more often near construction, seal obvious return-air gaps, and keep the area around the indoor unit clean. If a coil is already dirty enough to hurt performance, a technician can clean it as part of service. If the coil is damaged or the damage is deep, that’s where an honest conversation matters. We’ll tell you when cleaning is enough and when it isn’t. For a system that’s beyond cleaning and needs to be replaced, that conversation falls under AC installation, not a repair.
What You Can Do Yourself and What Needs a Technician
The line between homeowner tasks and technician tasks is mostly about safety and tools. Some items are safe, cheap, and effective. Others risk a shock, a refrigerant release, or expensive damage. Here’s the honest split.
Safe and worthwhile for a homeowner:
- Changing filters (the single easiest task, and high impact).
- Flushing and treating the condensate drain line.
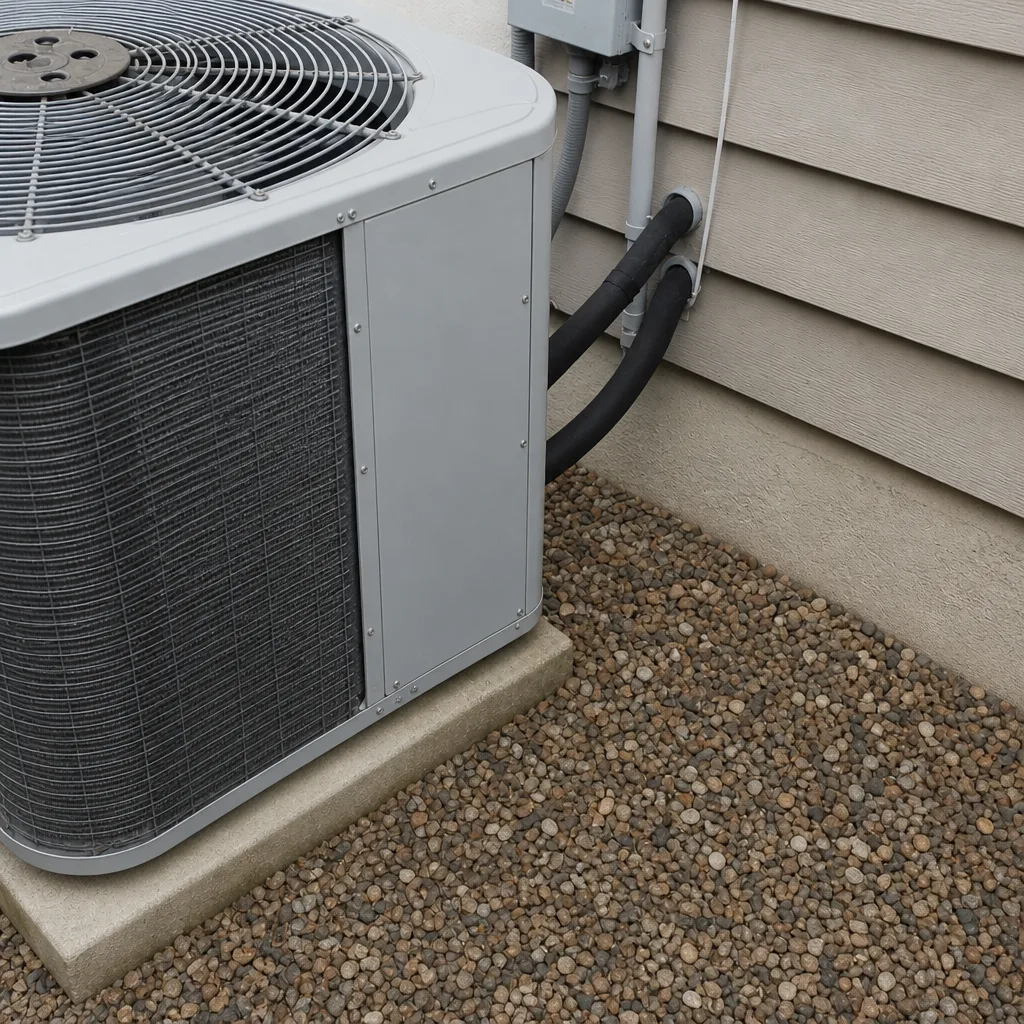
- Clearing debris and vegetation from around the outdoor condenser.
- Visually checking the drain pan for standing water.
- Noting unusual sounds, smells, or run-time changes.
Needs a licensed technician:
- Anything inside the electrical panel, including the capacitor, contactor, or wiring.
- Refrigerant measurement, leak detection, and charging (refrigerant is regulated and requires trained handling).
- Deep-cleaning the evaporator coil.
- Diagnosing a system that won’t start or trips the breaker.
- Checking compressor health, motor draw, or anything requiring a meter on live circuits.
If you’re not sure which side a task falls on, treat it as a technician task and ask. It’s cheaper to ask than to guess, and it’s a lot safer too. When you do need a pro, our technicians have up to 15 years of experience and can work on the system you already have rather than steering you toward a new one. That’s the Rutherford AC Repair approach: repair first, replacement only when the honest answer is that repair no longer makes financial sense.
Common Mistakes to Avoid
- Waiting until July to think about the drain. By then the humidity is already pushing condensation, and an algae clog can appear fast. Flush in April, not when it’s hot.
- Buying the highest-MERV filter available. In Lewisville’s older systems, an over-dense filter chokes airflow and drives up energy use. Match the filter to the system, not to the most impressive box on the shelf.
- Running without a filter after a “clean.” Forgetting to reinstall the filter after a check sends dust straight to the coil. Put the new one in before you close the cabinet.
- Ignoring longer run times. A system that takes noticeably longer to cool the house is telling you something. Catching a weak capacitor early beats an emergency repair on a hot afternoon.
- Piling things against the outdoor unit. Gardens, storage bins, and lawn equipment that crowd the condenser restrict airflow and force the system to work harder. Keep the area clear.
- Trusting a sales pitch over a diagnosis. When a “technician” jumps straight to a replacement quote without checking electricals or a clogged drain, ask for a proper diagnosis. Repair-first should be the starting point, not a fallback.
- Skipping the pre-summer inspection in a fast-growth year. Construction dust near new developments loads the coil faster. An inspection in May catches it before it becomes a performance problem in July.
See the difference
 Before
 After
 Before
 After
 Before
 After
When to Call a Professional
Some signs justify a call right away rather than a weekend project. If the system hums but the fan won’t spin, if it trips the breaker, if water is pooling around the indoor unit, or if you smell a burning odor near the equipment, stop and call. Refrigerant symptoms matter too: weak cooling with a system that runs constantly often points to a charge issue, and that needs trained handling. And any task involving the electrical panel, the compressor, or the coil’s deep interior is a technician job, not a homeowner one. Safety first, always. Rutherford AC Repair offers free estimates in Lewisville, and our technicians have up to 15 years of experience across Carrier, Trane, Lennox, Goodman, Rheem, York, Daikin, Bryant, and American Standard systems. Call (844) 761-3596. We answer 24/7. Fast dispatch from 7am to 7pm, Sunday through Friday.
Frequently Asked Questions
Flush it at least once in early spring, before the humid season, and check it again after the peak summer months. In a humid climate like Lewisville’s, algae regrows through the warm season, so a spring flush plus a mid-summer check covers most cases. If the line clogs despite treatment, a technician can look at the slope and the trap. Call (844) 761-3596 for an exact quote on a full inspection; estimates are free.
No, not safely. A capacitor can hold a dangerous charge even after power is cut, and the panel holds line voltage. Recognizing the symptoms (the fan not spinning, the unit humming, frequent start failures on hot days) is the homeowner’s job; testing and replacement belong to a licensed technician. Call (844) 761-3596 and we’ll take a look.
A basic to moderate pleated filter that protects the coil without restricting airflow, checked far more often than usual during active construction. There’s no single number that fits every system, so match the rating to your equipment and keep an eye on how fast it loads. A technician can recommend the right balance for your setup during an inspection.
Longer run times usually mean the system is working harder to move the same amount of heat, which points to a dirty coil, a restricted filter, or a failing component. In this climate, a laboring system often has a dirty evaporator coil or a weak capacitor. Get it diagnosed before the hottest weeks; call (844) 761-3596 for a free estimate.
It catches the cheap failures before they cost you an emergency repair, especially capacitors, clogged drains, and dirty coils. It won’t prevent every failure, but the parts most likely to fail in a Lewisville summer are exactly the ones an inspection checks. Schedule it in May, before the load builds.
Very likely, yes. We’re factory-familiar with nine of the most widely installed residential brands, including Carrier, Bryant, and American Standard, which covers the vast majority of systems in American homes. Repair is our default, so the first conversation is about fixing what you have. Call (844) 761-3596 for a free estimate.
The Bottom Line
The Lewisville AC checklist is less about a single tune-up and more about timing the right tasks to the local climate. Clear the condensate drain in April before the humidity arrives. Keep the filter clean, and check it more often near construction. Recognize the symptoms of a tired capacitor. And get a real inspection in May, before the load builds. Everything electrical, plus refrigerant work and coil cleaning, belongs to a technician. Everything else is a homeowner’s quick win. Do the simple parts consistently and you avoid most of the calls that fill up July. Repair first, replacement only when repair stops making sense: that’s how we approach it, and it’s the fastest route to a system that does its job when you need it.
Written by the team at Rutherford AC Repair.